 Wireless Updating
Line 6 Chief Product Design Architect explains how Wi-Fi connectivity makes it fast and fast and easy to update the firmware in your Helix Stadium amp and effects processor. (Transcript below) Hi, I am Eric […]
 Dale Wagler on Designing Intuitive User Experiences
Dale Wagler talks about how the team works on designing intuitive user experiences.
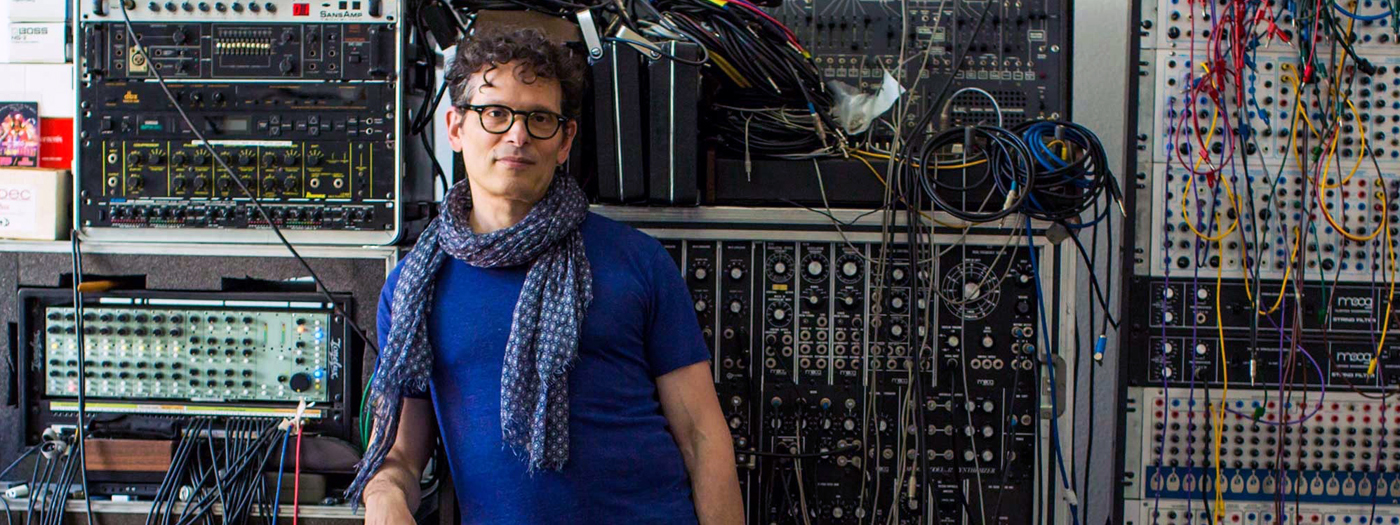
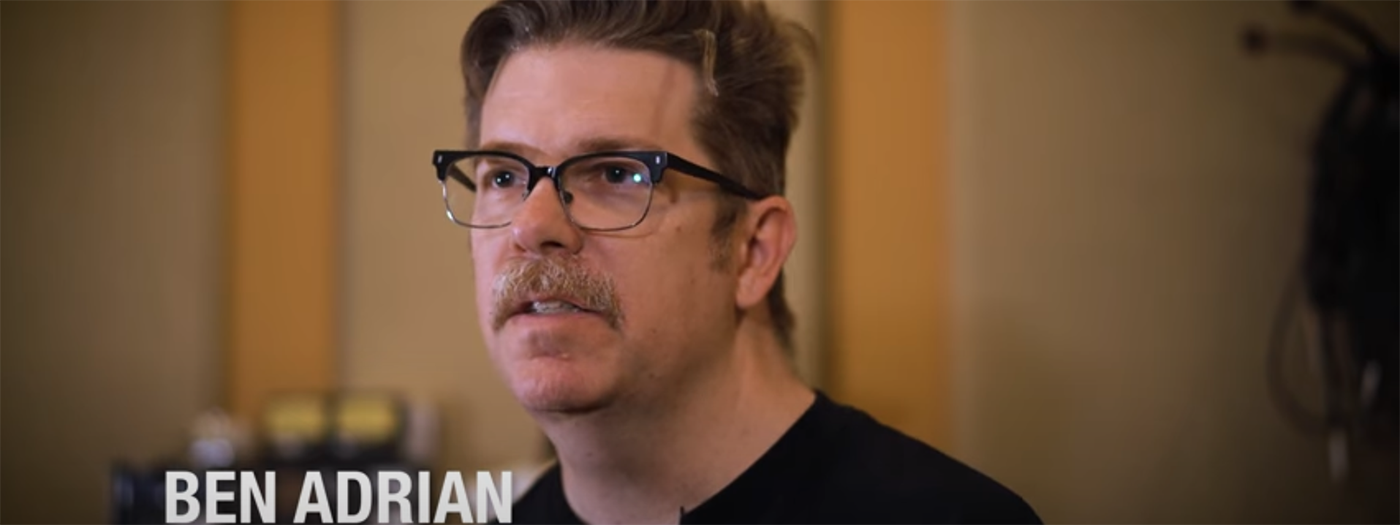 Ben Adrian on the Art and Craft of Component Modeling
As we celebrate the 10-year anniversary of Helix, we’re taking a look back—and forward—at what’s made Line 6 amp modeling so innovative.
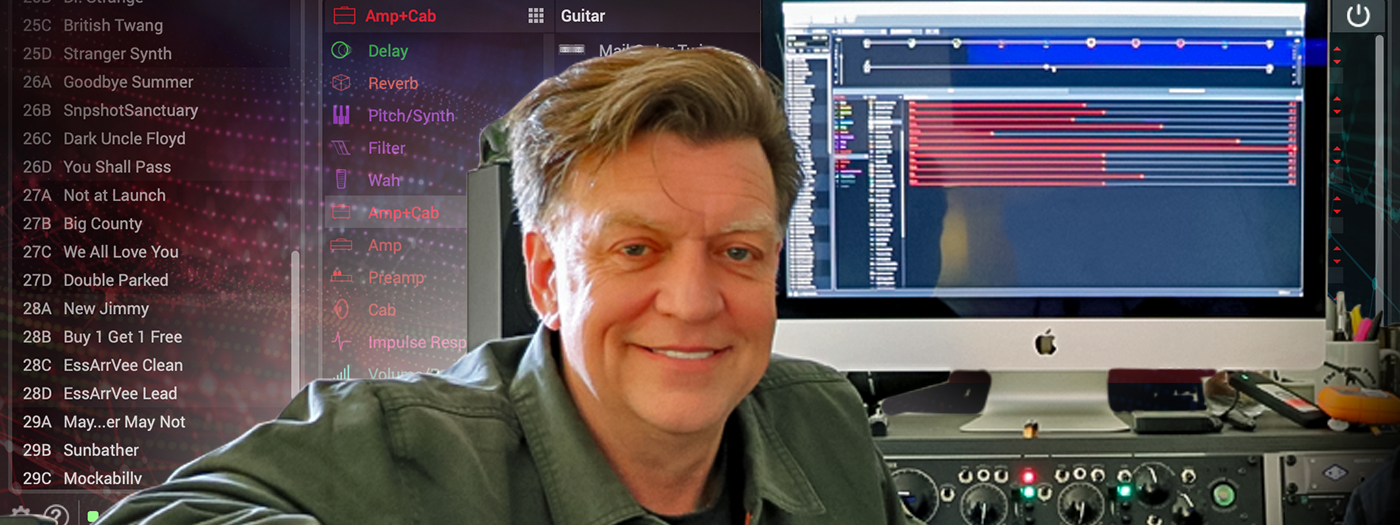
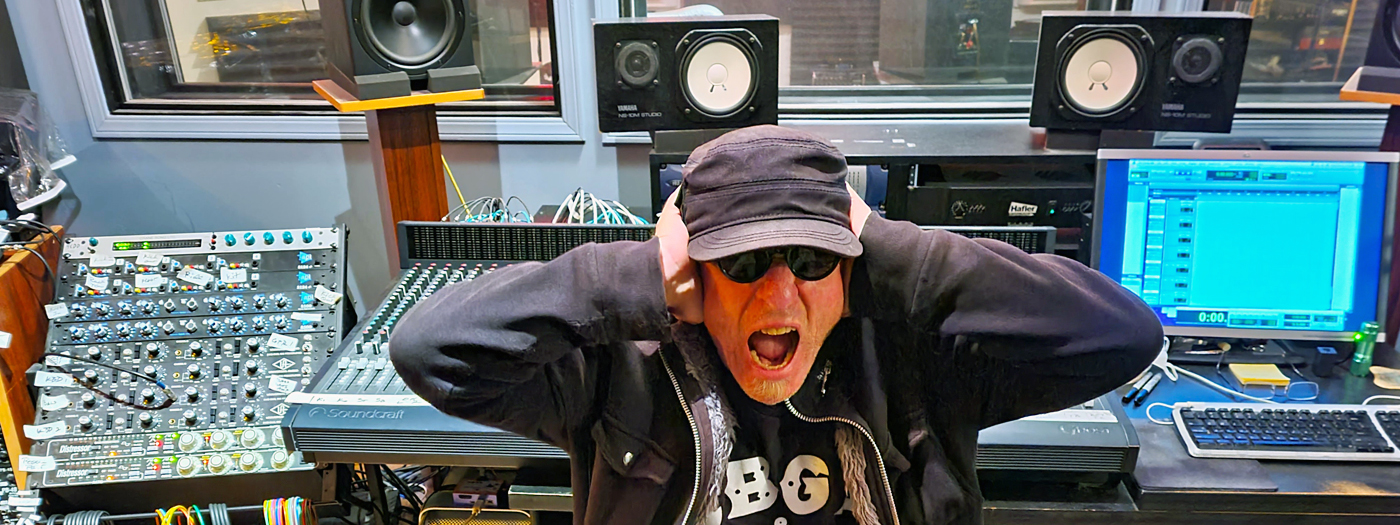
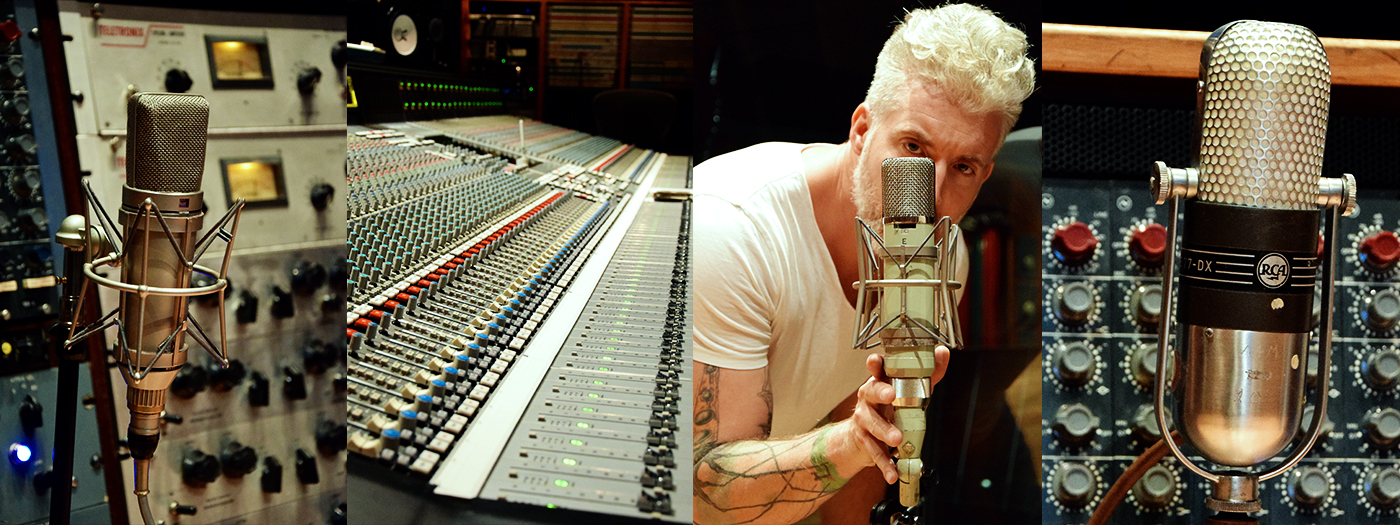
 Eric Klein on Instant Gratification with Helix
To celebrate our 10 year Helix Anniversary we are sharing some background of what went into making Helix with a video from Eric Klein on the Amp Button feature and the Favorites feature.
 Unlocking Sonic Possibilities: Integrating the Line 6 HX One into My Workflow
Read and hear how Chris Rocha uses HX One and some of his favorite features.
 The Making Of HX One
Learn more about the development of HX One from Chief Product Design Architect, Eric Klein and Product Owner, Anthony Taglianetti.
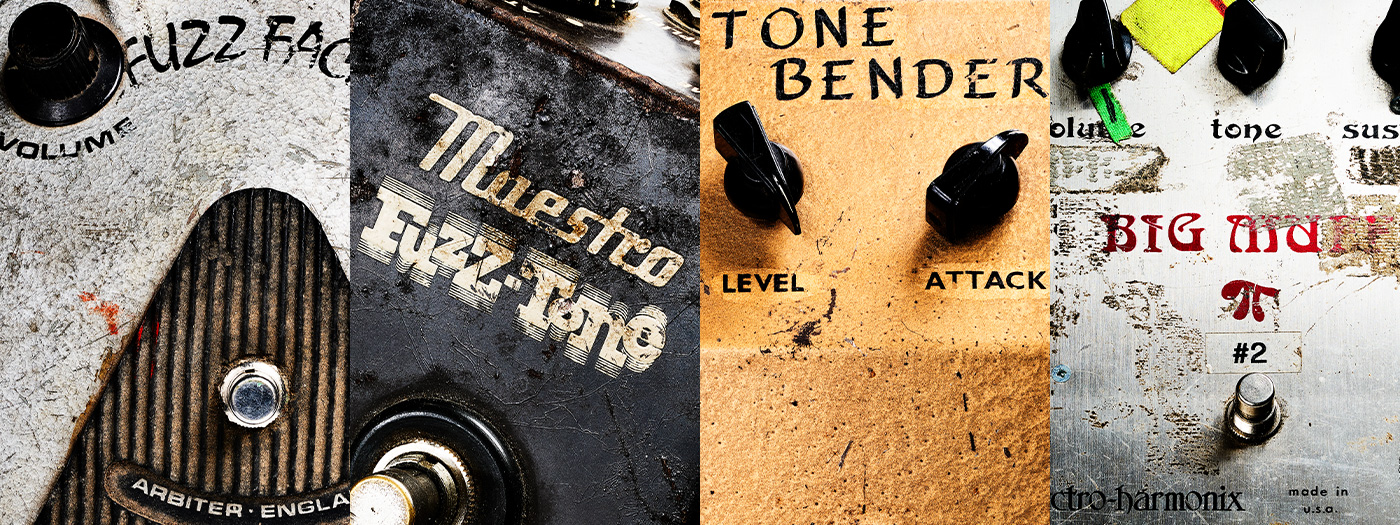 Dave Hunter: The Big Buzz – Origins of the Fuzz Box & Tips on Getting Fuzzy
Hunter recaps fuzz history, provides user insights, and spotlights vintage and modern fuzz pedals modeled in Helix that you can explore yourself.
 Mike “Puisheen” Adams — Guitar Whisperer, Offset Fanatic, and Atypical Picker
The popular YouTuber discusses his bizarre musical background, his passion for offset guitars, Helix, and being an “influencer.”
 Jeff Schroeder: Ambient Sounds Pt. 2 – Attack of the Synths
Schroeder shares three period-correct synth-based Helix presets inspired by Adrian Belew and other early guitar synth pioneers. Free download!
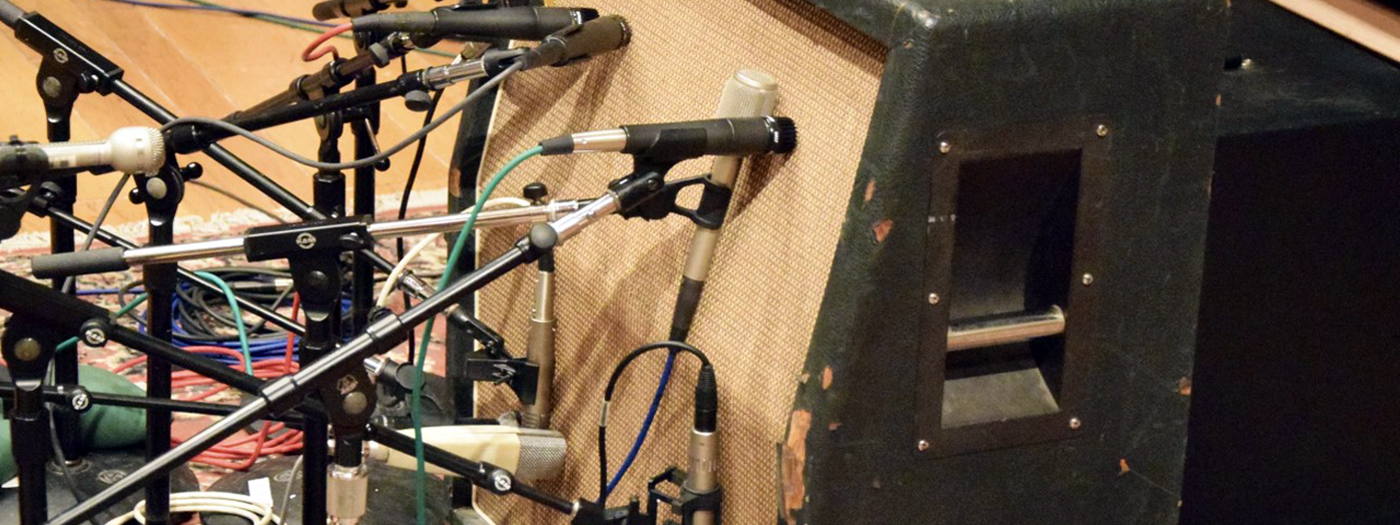
 Eric Klein: At Least Half of Your Modeler’s Sound Is Determined by Your Playback System
The Helix mastermind details the pros and cons of seven popular playback options and explains why your choice is critical to your tone.
 Tom Salta: Mental Fitness for Creatives
The celebrated AAA game, film, and TV composer shares his strategies for enhancing creativity and personal well-being.
 Devin Townsend – From Extreme Metal to Ambient Explorations with Helix
The radically eclectic guitarist discusses his creative process, crafting “massive clouds of sound” with dual Helix processors, and much more.
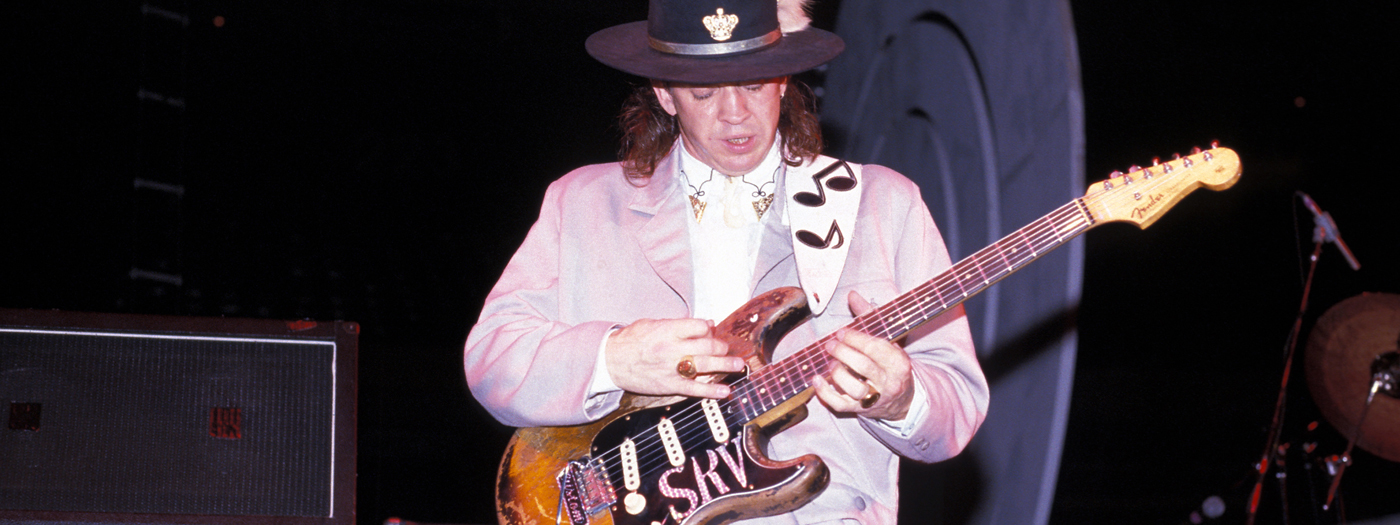 Jas Obrecht: Stevie Ray Vaughan’s “Texas Flood” Sessions
The inside story of the making of the landmark blues album and the gear used by SRV as told by people who were there.
 Peter Hook—Revisiting Joy Division and Factory Records
Barry Cleveland interviews the legendary bassist in celebration of Record Store Day—plus Hooky shares his HX Effects touring preset for free!
 Dr. Molly Miller: Four of My Favorite Contemporary Women Guitarists
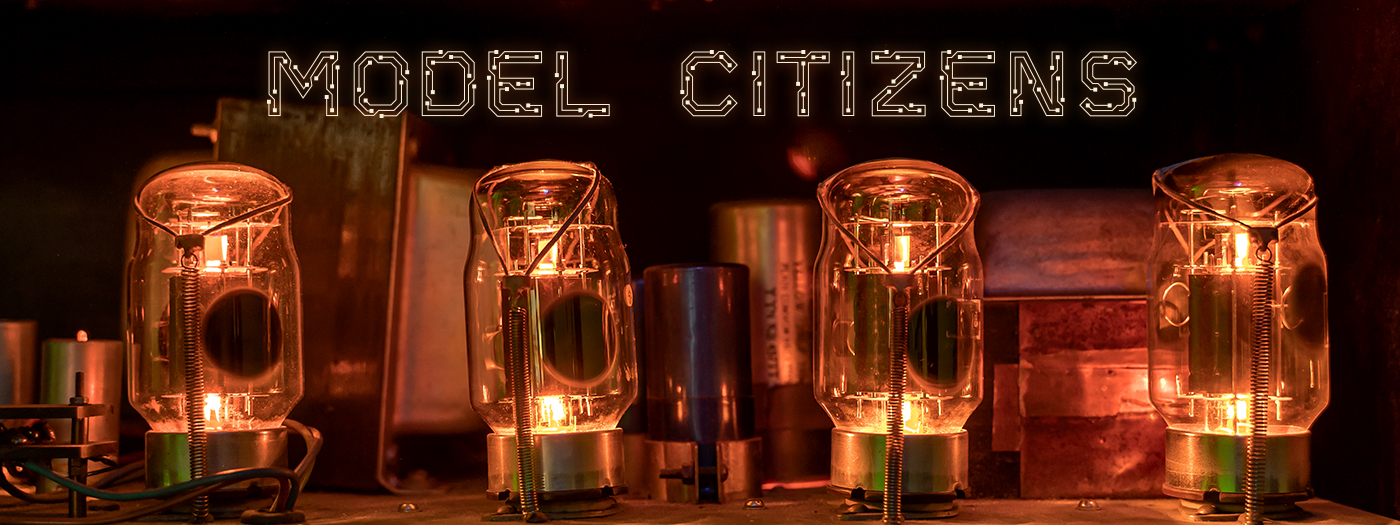
Model Citizens spotlights Arianna Powell, Carmen Vandenberg, Emily Elbert, and Madison Cunningham in celebration of Women’s History Month.
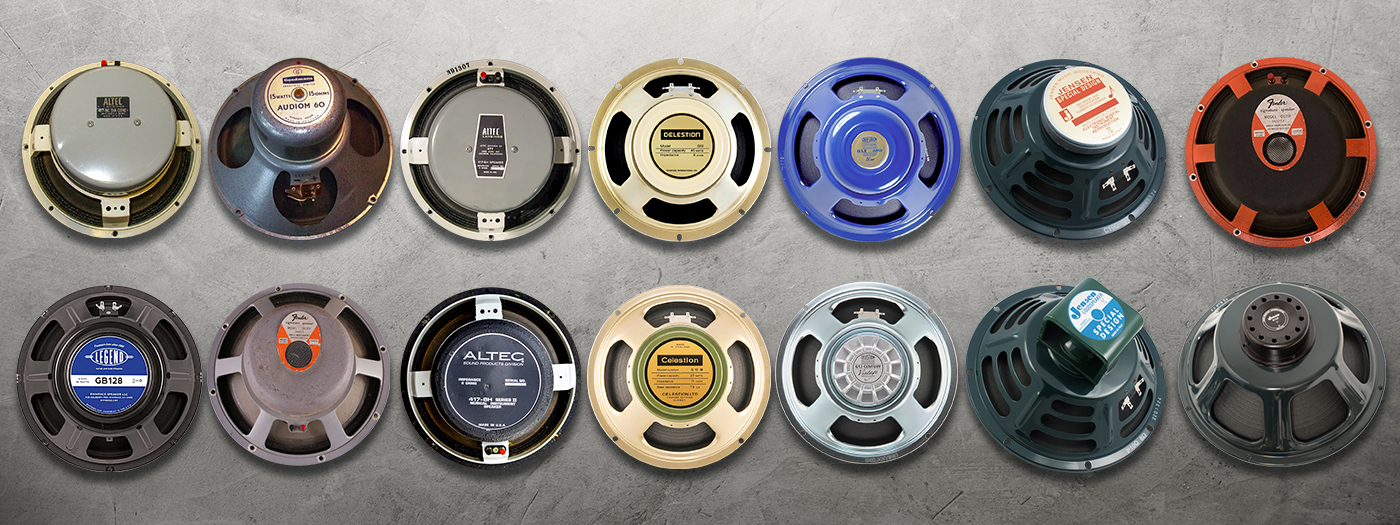 Dave Hunter: Tone in a Box Part 2 – Tone Tweaking Via Speaker Swapping
Take a deep dive into the history of guitar speakers and explore how speaker swapping—physically or virtually—can reveal a treasure trove of tones.
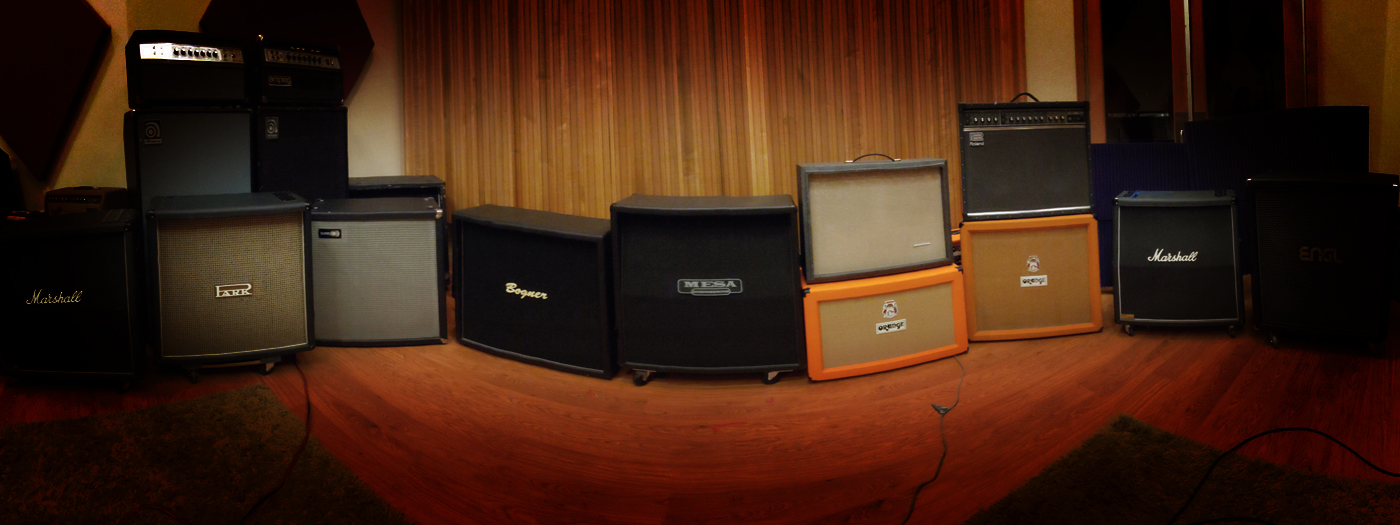 Dave Hunter: Tone in a Box Part 1 – Tone Tweaking Via Cab Swapping
Learn all about speaker cabs and how they affect your tone—then explore the new cabs and cab parameter options in Helix 3.50 “The Cab Update.”
 Jas Obrecht: Jeff Beck the Fusion Years, Part 2 – Keep Your Ears Wide Open or Music Will Pass You By
Beck’s Wired and There and Back albums further broadened the horizon for future instrumental guitarists such as Steve Vai and Joe Satriani.
 Jas Obrecht: Jeff Beck the Fusion Years, Part 1 – A Guitar Hero Reinvents Himself
When Beck’s monumental Blow by Blow album was released in 1974 minds were blown and both rock and jazz guitar playing were changed forever.
 Sarah Lipstate – Crafting Cinematic Soundscapes with Guitars, Bows, and Pedals Galore
Whether performing solo as Noveller, or collaborating with the likes of Iggy Pop, Lipstate evokes majestic waves of sonic splendor.
 Jeff Schroeder: Ambient Sounds Pt. 1 – “Frippertronics”
The Smashing Pumpkins guitarist offers insights into ambient guitar playing and shares his “Frippertronics” Helix presets. Free Download!
 Jas Obrecht: How Jimi Learned to Play Guitar Pt. 3 – Becoming “The Most Compulsive Player Ever”
Jimi Hendrix took the world by storm, but where did he come from? We trace the iconic guitarist’s origins in this epic three-part series!
 Jas Obrecht: How Jimi Learned to Play Guitar Pt. 2 – Seattle Bands, Betty Jean, and The Blues
Jimi Hendrix took the world by storm, but where did he come from? We trace the iconic guitarist’s origins in this epic three-part series!
 Jas Obrecht: How Jimi Learned to Play Guitar Pt. 1 – Earliest Music, First Guitars
Jimi Hendrix took the world by storm, but where did he come from? We trace the iconic guitarist’s origins in this epic three-part series!
 Paul Richards – Guitar Craftiness, Shepard Tones, and Echoes (plus free Helix/HX presets!)
The California Guitar Trio guitarist talks about Robert Fripp, using effects with acoustic guitar, covering Pink Floyd’s “Echoes,” and more.
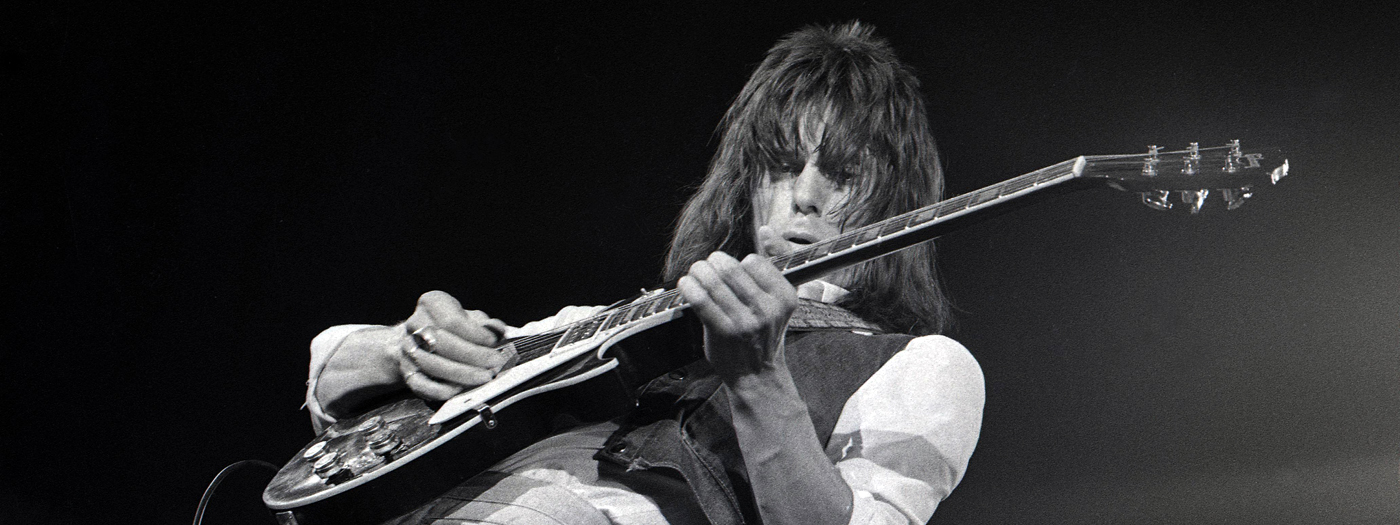
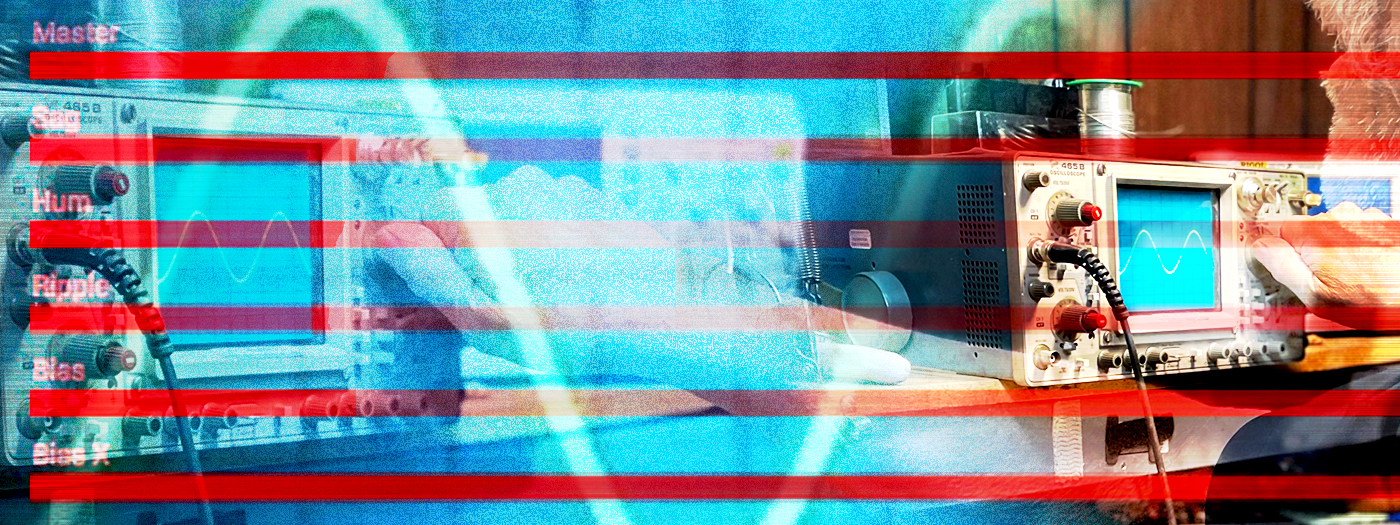 Dave Hunter: What’s Behind the Sag, Bias, and Bias X Controls in Helix Amps?
Sharpen your Helix and HX tone-crafting skills by better understanding these critical tube amp parameters.
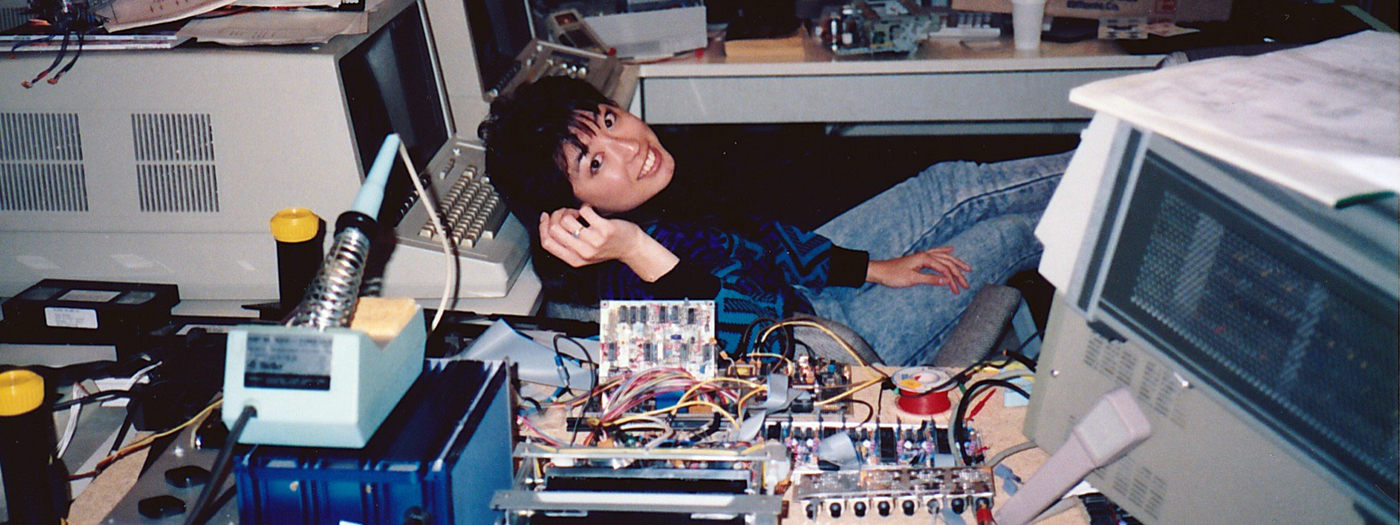 Carol Hatzinger – From Recording Revolutionary to Senior Director
For Women’s History Month we spotlight our Senior Director of Project Management, who helped engineer the ADAT recorder—changing everything!
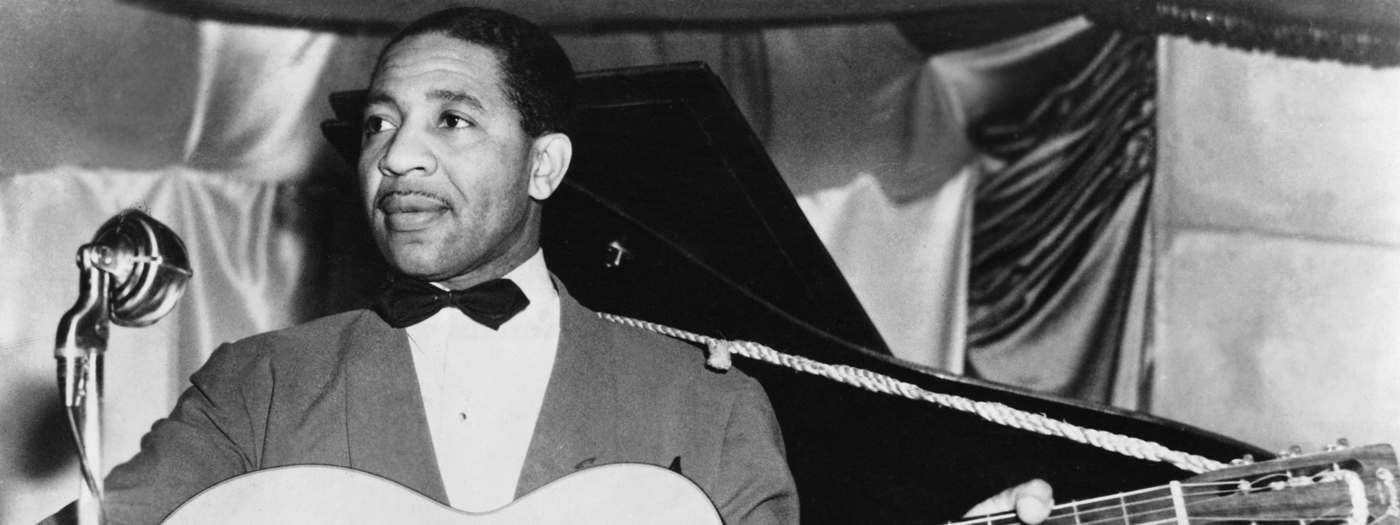 Jas Obrecht: Lonnie Johnson – The Most Influential Blues Guitarist Ever
Veteran author and journalist Jas Obrecht spotlights the seminal yet often overlooked jazz and blues virtuoso in our celebration of Black History Month.
 Julien Baker – Indie Rock’s Reverb Queen Shimmers with HX Effects
The singer, songwriter, keyboardist, and guitarist employs pedals and live looping to sculpt sounds as adeptly as she sings and turns phrases.
 Reeves Gabrels – Is Art-Rock’s Jedi Master Really a … Blues Rocker?
James Volpe Rotondi talks tone, effects, whammy bar technique, Helix, core influences and more with the former David Bowie and current Cure guitarist.
 Dave Hunter: Unsung British Guitar Amps from the Golden Age of Rock
There were more than a few British companies making great guitar amplifiers during the ’50s, ’60s, and ’70s. We spotlight four of the most important ones.
 Jeff Schroeder on the Virtues of Running Delay and Reverb Before Distortion
The Smashing Pumpkins guitarist challenges convention and shares three vibey Helix presets as we mark the two year anniversary of Model Citizens.
 Barry Cleveland: How Joe Meek Turned the Recording World Upside Down
Is the mad genius behind the global hit “Telstar” and responsible for many recording “firsts” the most influential record producer and engineer ever?
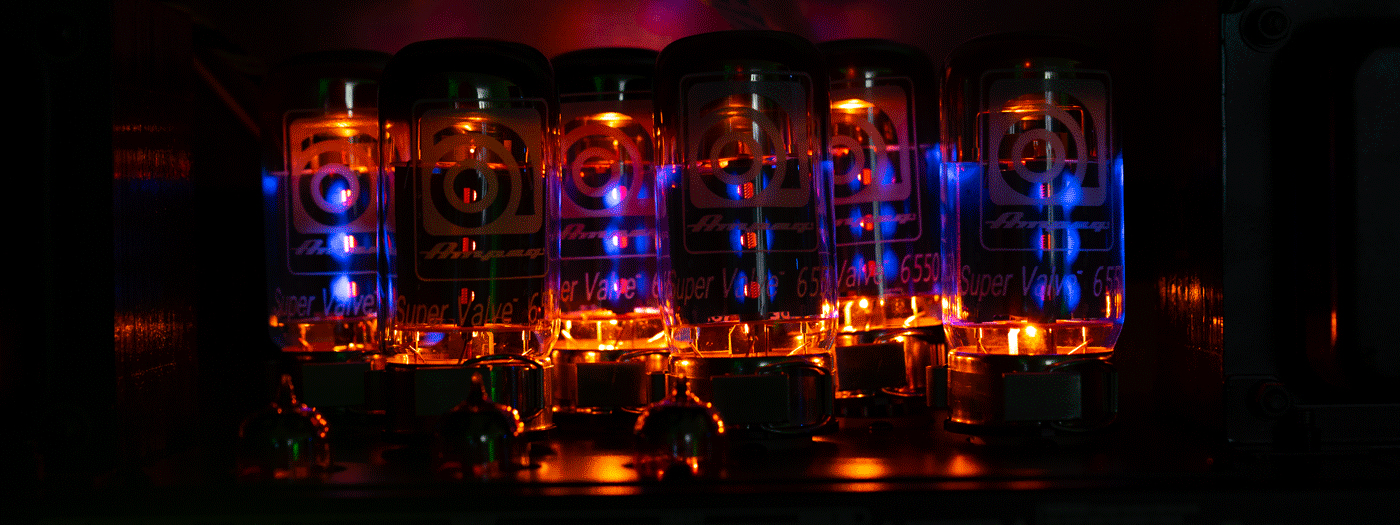 Dave Hunter: Output Tube Types – Setting the Foundation of Your Tone
Learn why output tubes are an essential factor when it comes to tone, even when you’re choosing and dialing in amplifier models.
 Jakko Jakszyk – Helix In the Court of the Crimson King
The guitarist and vocalist discusses Helix, his latest album, working with Robert Fripp, and more—plus shares three King Crimson presets.
 Chad Boston’s “Family Style” Approach to Nerd Nirvana
Michael Molenda and group co-founder Chad Boston discuss the astonishing success of the ever-expanding Helix Family Facebook Group.
 Jeff Schroeder on Sonic Inspiration and His Multi-Modulation Helix Preset (Free Download)
The Smashing Pumpkins and Night Dreamer guitarist shares musical ideas inspired by his super-vibey post-punk-style preset—with audio examples.
 Not Guitar: Touch Guitarists Markus Reuter and Trey Gunn Conjure Cosmic Tones and Soundscapes From Helix
The singular progressive rockers divulge their deepest and darkest Helix secrets—and Reuter shares his “Glitch” and “Lead” presets.
 Paul Freudenberg: Every Day Is Record Store Day When Your Record Label Releases Vinyl
Dig vinyl? You’re not alone. This is a tale of one man’s journey back to vinyl and the lifestyle and aesthetic choices that accompanied it.
 Not Guitar: How Tina Guo & Lisa Molinaro Make Cellos and Violas Rock with Line 6 Effects
Fuzz viola? Heavy metal cello? These innovative string players aren’t limited by convention (plus: Tina shares her “Banana” Helix preset).
 Not Guitar: How Woodwind Players Paul Hanson and Theo Travis Incorporate Line 6 Effects Into Their Art
Our “Not Guitar” series spotlights non-guitarists doing amazing things with Line 6 effects—beginning with two phenomenal woodwind players.
 Garbage In, Garbage Out: Super Producer Butch Vig Digs Through Helix for Trash & Treasure
James Rotondi and the renowned producer/multi-instrumentalist discuss Garbage and Helix, with additional insights from engineer/mixer Billy Bush.
 Julian Ward: The Three Simple Principles That Helped Me Enjoy Recording at Home
How the lockdown led to identifying and overcoming obstacles—while simultaneously cultivating peace of mind.
If your current marketing approach isn’t delivering, your career-building strategies and tactics may be relics of the past.
 Bill Kelliher – The Mastodon Guitarist Riffs on Helix and Heaviness (and bestows a free preset)
The past master of mammoth riffs initiates Barry Cleveland into the dark art of conjuring monster Helix tones.
 Dr. Molly Miller: Pioneering Women of The Guitar
Dr. Molly Miller spotlights Memphis Minnie, Maybelle Carter, and Sister Rosetta Tharpe in this celebration of Women’s History Month.
 Helix for Neanderthals – Butch Walker’s Beastly Bag of Tricks
James Rotondi and the celebrated guitarist, producer, songwriter, and performer talk tone, tech, and shoe size.
 Rock, Race, and History: A Conversation with Vernon Reid
Joe Gore and the renowned guitarist discuss the racially fraught history of rock music and spotlight black guitarists that haven’t received their due.
 Dan Boul: My Helix Native Lockdown Revelation
After rediscovering Helix Native, the tube amp guru upped his home recording game, then convinced industry pros of the plugin’s powers.
 Scott Holiday – The Fuzz Lord Enters the Halls of Helix
The tone-savvy Rival Sons guitarist tells James Rotondi why and how he made Helix Floor the centerpiece of his live performance “B Rig.”
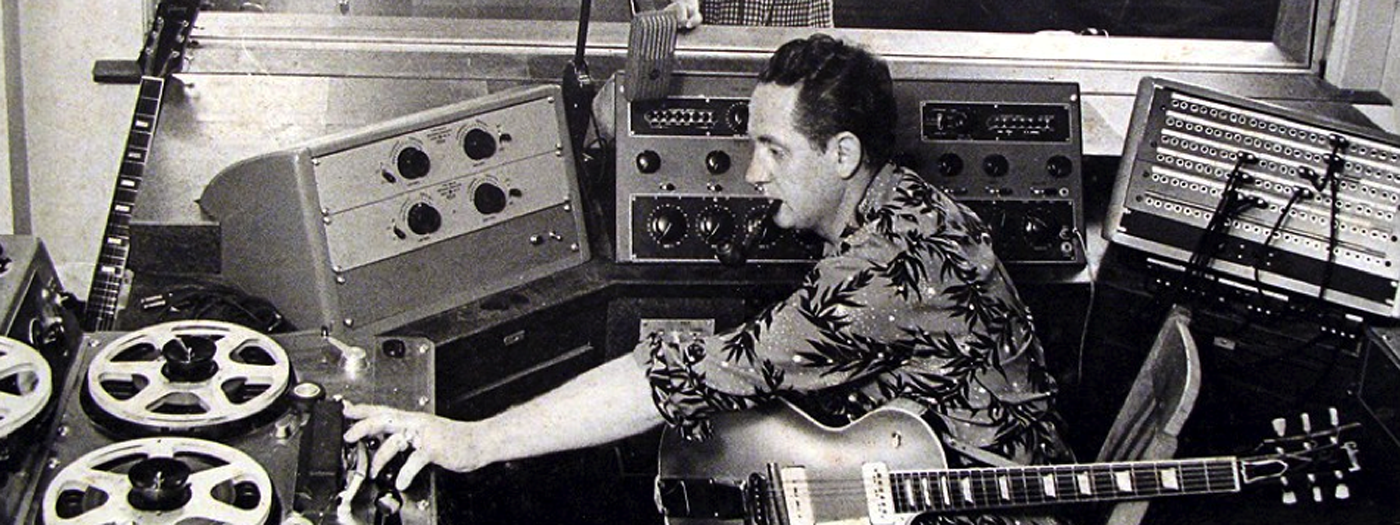 Barry Cleveland: How Les Paul Created His Extraordinary New Sound
Barry Cleveland details the singular techniques behind the visionary guitarist and inventor’s revolutionary recordings.
 Jeff Schroeder: When I Dream of Amps …
The Smashing Pumpkins and Night Dreamer guitarist shares four of his “dream” multi-channel amp and effects Helix presets.
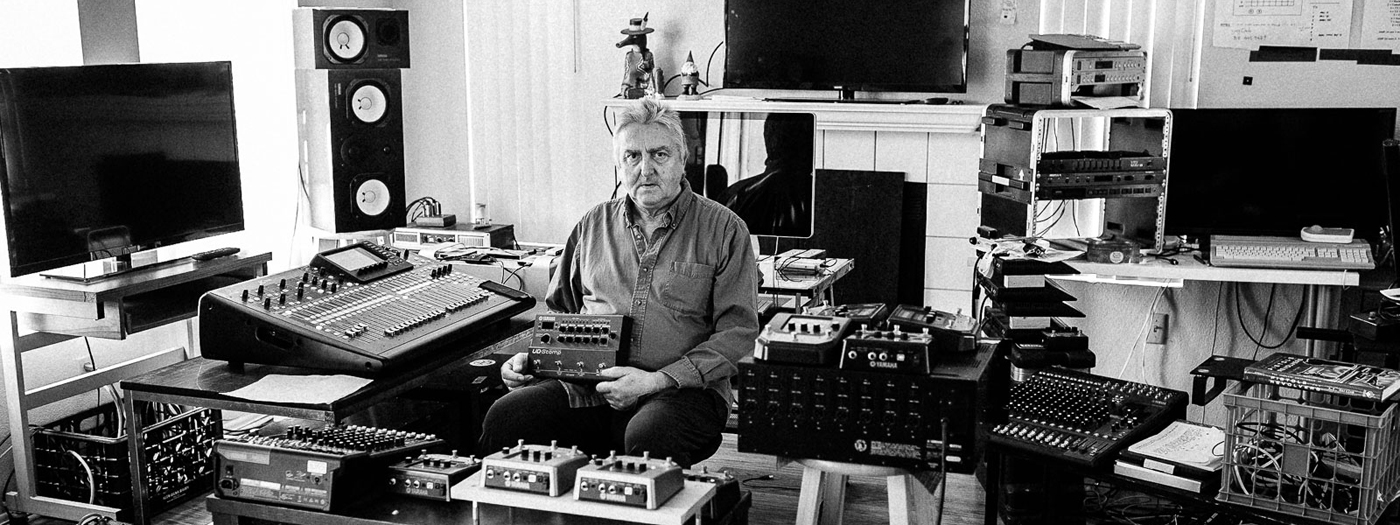 Allan Holdsworth’s Baby – The Story of the Yamaha UD-Stomp Delay Pedal
The legendary Allan Holdsworth (1946-2017) explains how he replaced vast arrays of rack delays with the Yamaha pedal he codesigned.
 The Man Behind the Modelers – Eric Klein Talks Helix 3.0 with Joe Gore
Helix mastermind Eric Klein discusses Helix 3.0 highlights and personal favorites with veteran journalist, guitarist, and fellow Helix geek Joe Gore.
 Michael Molenda: Five Ways to Massacre Your Mix
Michael Molenda reveals five ways to ensure your home recordings fail, while also providing pointers for avoiding all-too-common pitfalls.
 How Producer Michael Beinhorn Records Humongous Walls of Guitar
Producer Michael Beinhorn (Soundgarden, Ozzy Osbourne, Red Hot Chili Peppers, Aerosmith, Korn, Hole) shares his guitar recording techniques.
 Jon Herrera: What Is Re-Amping and Why Should You Care?
Bassist and recording engineer Jonathan Herrera expounds the nearly limitless tone-crafting power of re-amping.
 Jeff Schroeder Shares His Helix Shoegaze Tones
Jeff Schroeder (Smashing Pumpkins, Night Dreamer) offers a shoegaze guitar tone primer with audio examples and downloadable Helix presets.
 Mary Halvorson’s DL4 Time Warp
Barry Cleveland discusses delay tactics with the highly acclaimed NYC jazz and free-improvisational guitarist.
 Julian Ward: Why I’ll Never Go Back to Using Tube Amps Live
Stalwart tube-amp enthusiast Julian Ward experienced an irreversible paradigm shift after combining his Helix Rack with a Powercab 112 Plus.
 Dan Boul: You’ve Never Actually Heard That Amp
Having trouble sounding like the guitarists on your favorite records? Tube amp guru Dan Boul explains why.
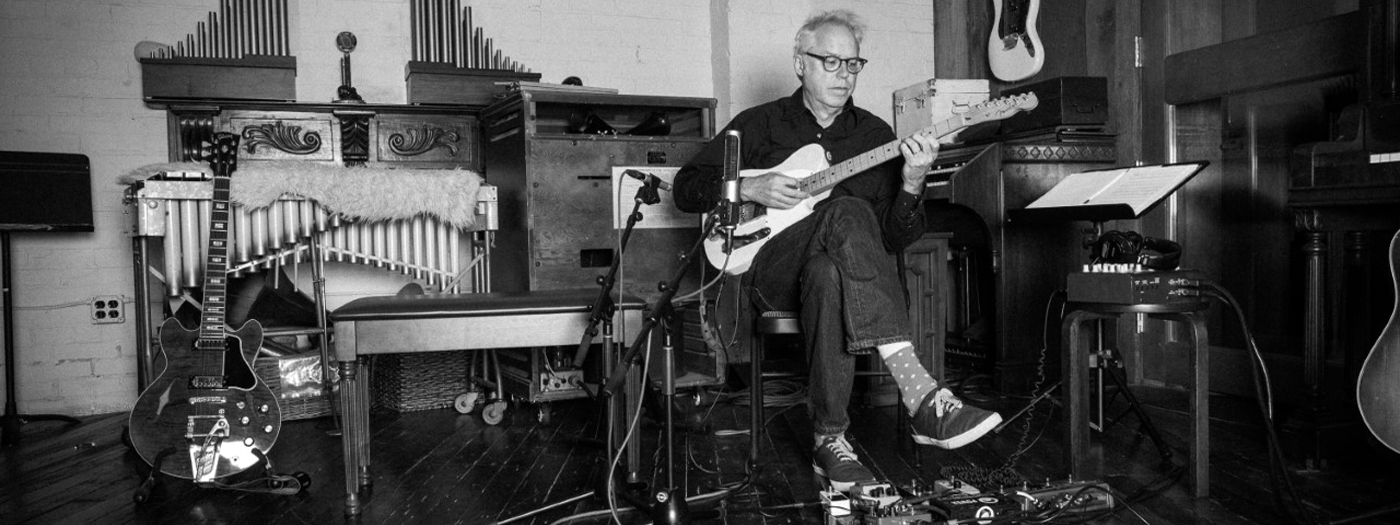 Bill Frisell Talks Looping & Loopers
Barry Cleveland discusses the whats, whys, and hows of live-looping with the celebrated guitarist.
 Joe Gore: Breaking the Analog Model
Joe Gore explores what happens when you disregard the conventional rules of analog signal flow in the digital modeling realm.
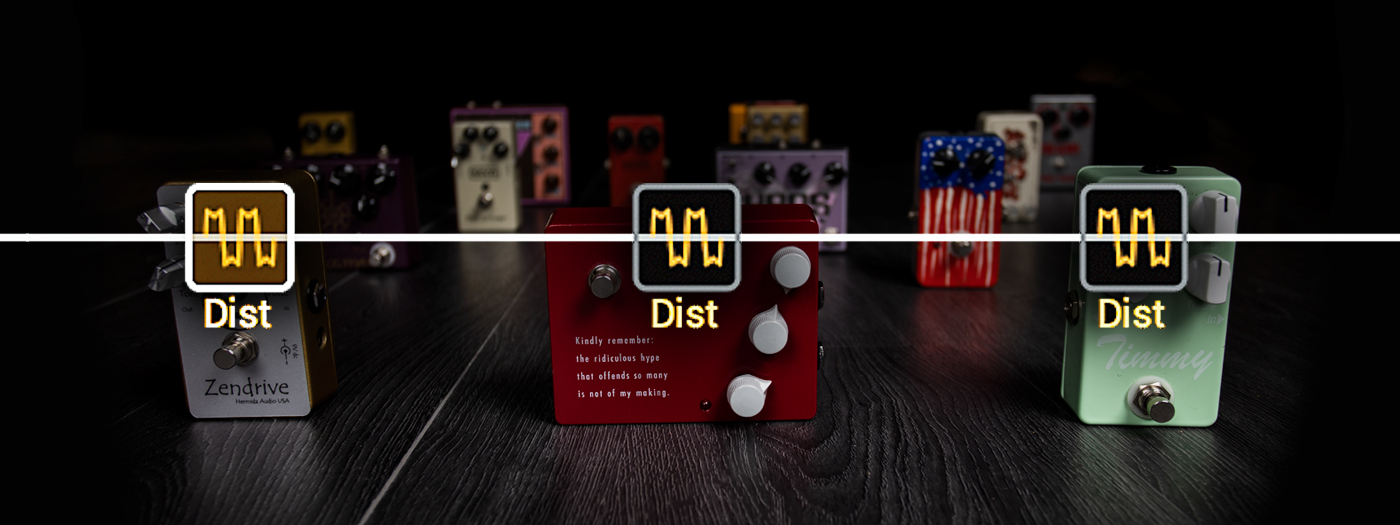 Michael Ross: Gainful Deployment – Stacking Overdrives
Michael Ross dishes the dirt on combining overdrive, fuzz, and other distortion pedals to open up whole new worlds of gain.
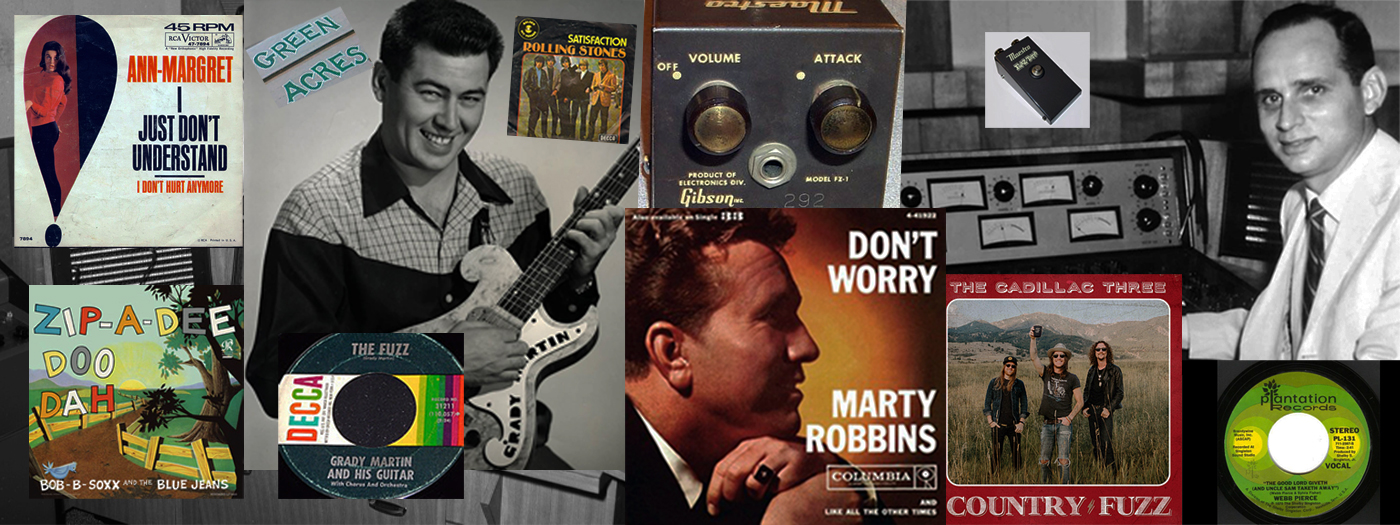 Chris Gill: Nashville’s Dirty Secret – Country Music’s Founding Forefathers of Fuzz
Chris Gill recounts that years before and after the Stones recorded “Satisfaction,” fuzz guitar was featured on dozens of country singles.
 Video: Tom Salta on Scoring Games With Helix Native
Award-winning composer Tom Salta demonstrates how he uses the Line 6 Helix Native guitar and effects plug-in to create monumental sounds when scoring major video games.
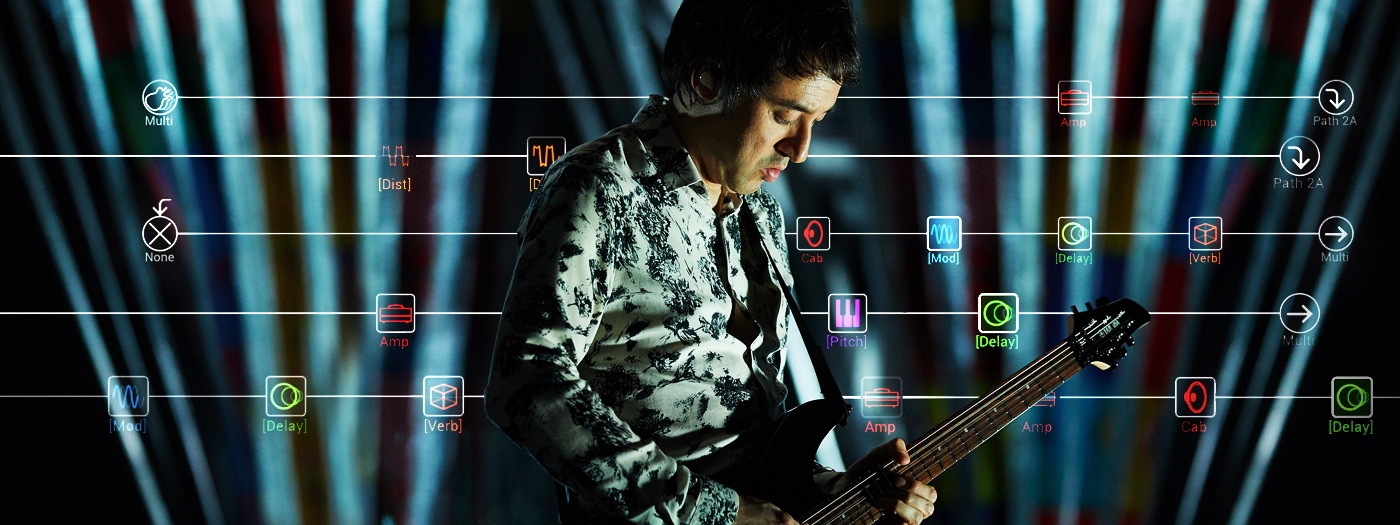
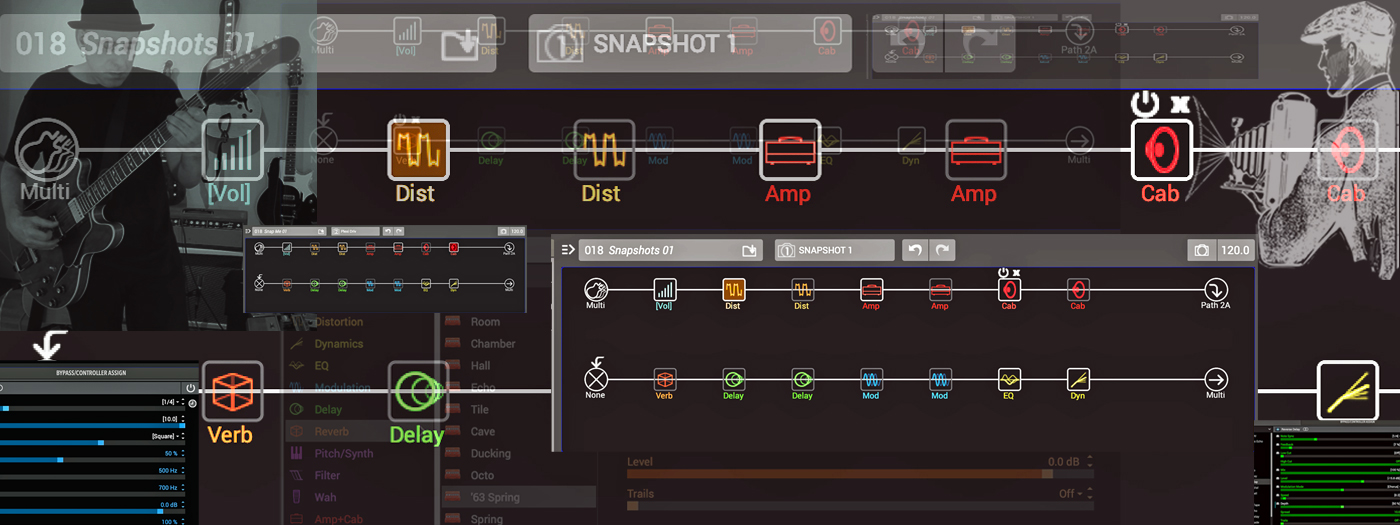 Joe Gore: The Secret Power of Helix Snapshots
Snapshots is one of the most powerful, yet underutilized, features in Helix. Joe Gore unveils its secrets, step-by-step, with images, sound clips, and downloadable examples.
 Dan Boul: Crossing the Digital Divide – You Don’t Have to Choose
Boutique amp builder Dan Boul loves tube amps, yet he’s also a huge proponent of amp modeling. Find out why he’s certain it’s okay to have it both ways.
 Barry Cleveland: A Young Person’s Guide to Speaker Cabinet IRs
Speaker cabinet impulse responses are all the rage—but what are they and how can you use them when crafting great guitar tones with your modeler?
 Matt Scannell on Using HX Effects with 4-Cable Method In His Live Rig
Curious about 4-Cable Method? Matt Scannell runs Matt Blackett through how he employs it with his HX Effects-based live effects rig.
 Jude Gold: Living In Stereo
Ace guitarist Jude Gold goes wide on non-mono guitar sounds, the virtues of performing in stereo, and his favorite stereo strategies.